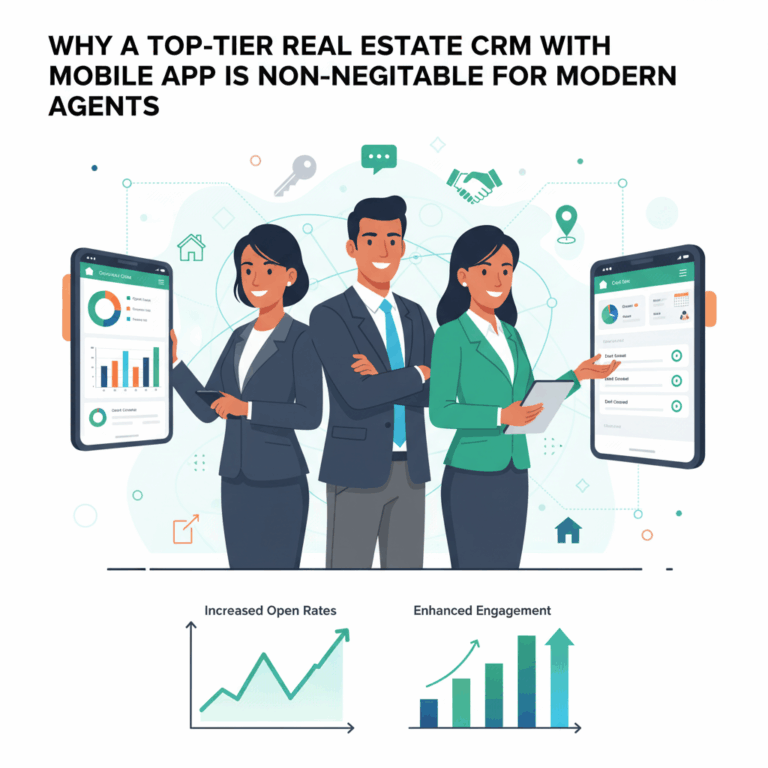
How to Build a ‘Google CRM’ for Real Estate Agents (Free & Simple)
Stop Paying for Features You Don’t Use
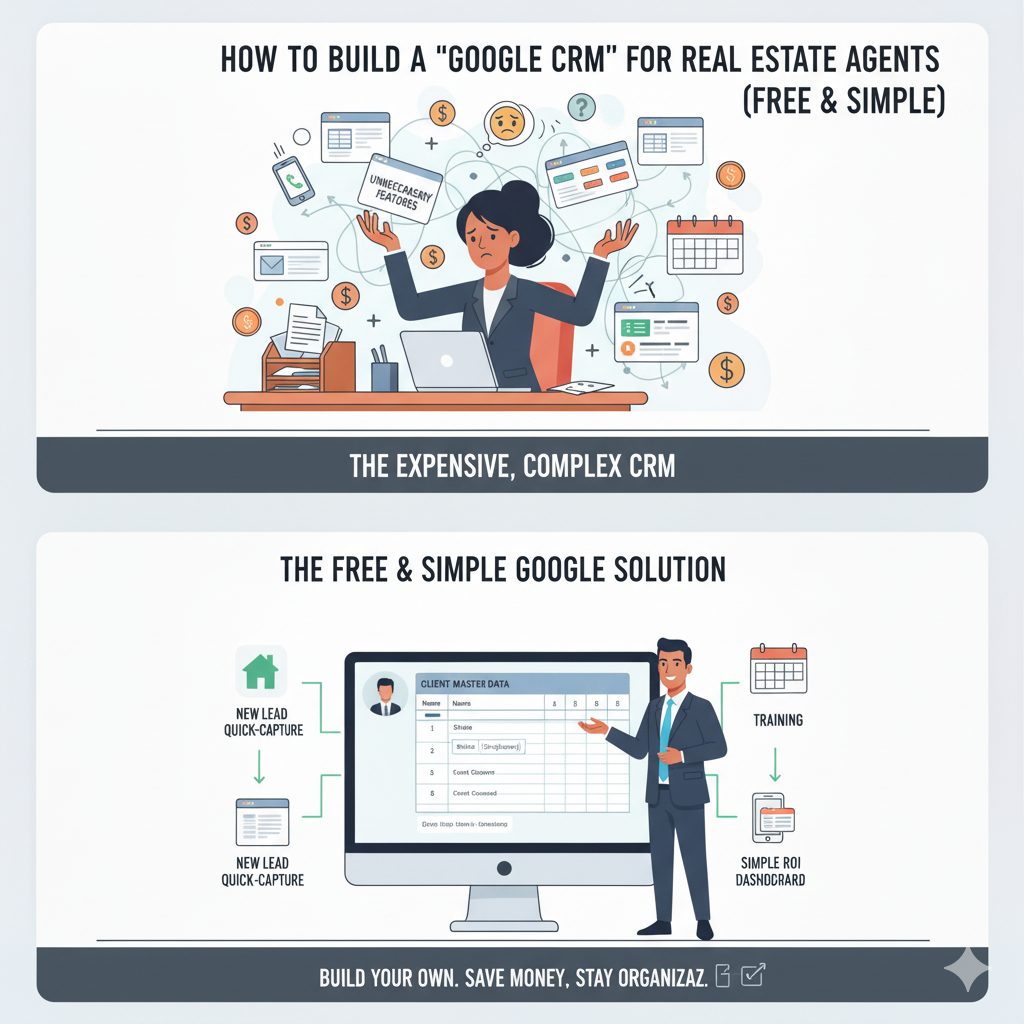
Are you tired of expensive, overly complex CRM subscriptions that only use 10% of their functionality? For individual real estate agents, small teams, or those just starting out, a full-featured CRM can be overkill and a significant drain on your budget.
The solution? Build a powerful, customizable, and free Google CRM for real estate using tools you already know: Google Sheets, Google Forms, and Google Calendar.
This simple, DIY approach gives you a centralized contact manager, a visual pipeline, and automated reminders without writing a single line of code or spending a cent on software licenses. This strategy allows you to maintain full control over your data while leveraging the robust infrastructure provided by Google.
Phase 1: The Core Database (Google Sheets)
Your Google Sheet is the engine of your Google CRM for real estate. It needs to be well-structured to handle all your contact and deal data efficiently. A spreadsheet that is structured correctly acts as the single source of truth for your entire business.
Step 1: Create the Master Client Tracker
Open a new Google Sheet and create the following columns in the first tab (Name it: “Client Master Data”). The key is to standardize the data you collect from the beginning to ensure effective reporting later.
| Category | Recommended Columns | Purpose |
|---|---|---|
| Contact Info | Full Name, Email, Phone, Lead Source | Essential identification and origin of the contact. |
| Pipeline | Status (Dropdown), Next Step (Text), Last Contact Date | Tracks where the lead is in the sales cycle and when action is required. |
| Client Details | Budget (Numeric), Property Type, Preferred Area, Qualification Date | Key data for personalized follow-up and segmentation. |
| Transaction | Expected Close Date, Commission Value (Numeric), Contract Status | Future-focused data for accurate income forecasting. |
Pro Tip: Use Data Validation. Click on the “Status” column header and go to Data > Data validation. Use a “List of items” and type your common sales stages (e.g., New Lead, Contacted, Viewing Scheduled, Offer Submitted, Closed-Won, Closed-Lost). This turns cells into a dropdown menu, preventing typos, ensuring clean data, and making filtering simple.
Step 2: Set up the Interactions Log
Create a second tab called “Interaction Log.” This is where you track every communication (calls, emails, meetings, texts) related to a client.
- Columns:
Date,Client Name,Type(e.g., Call, Email, Text),Notes,Agent. - The Power of VLOOKUP (Optional but Recommended): In a separate column, use the
VLOOKUPformula (or the newerXLOOKUP) to automatically pull the client’s current status or budget from the “Client Master Data” tab when you type their name. This helps you review historical context quickly.
Phase 2: Automation and Data Entry (Google Forms)
Manual data entry is the biggest killer of CRM adoption, leading agents to abandon their systems. Use Google Forms to automate the logging process, especially for new leads and ongoing client interactions.
Step 3: Create a Quick-Log Form
Go to Insert > Form in your Google Sheet. This automatically creates a linked Google Form that will feed data directly into your sheet, making it a true Google CRM for real estate.
A. For New Leads (Lead Capture): Create a form that mirrors the main columns in your Client Master Data (Name, Email, Phone, Lead Source, Property Type).
- Automation: Embed this form on your website or share the link on social media. When a form is submitted (e.g., from a Facebook Ad or website contact page), the data automatically populates a new row in your Sheets database, ensuring immediate data capture.
B. For Interaction Logging (Post-Call/Post-Showing): Create a second, simple form for logging interactions. This dramatically reduces friction compared to opening the large spreadsheet.
- Fields: Client Name (use a dropdown list populated by names in your Sheet), Date, Interaction Type, Notes.
- Daily Habit: Train yourself to fill out this 15-second form immediately after every client interaction. This practice ensures your notes are always current and accurate.
Step 4: Simple Visual Dashboard
The best Google CRM for real estate gives you a quick visual summary of your business health. Create a third tab called “Dashboard.”
- Pipeline Summary: Use the
=COUNTIF()function to count the number of leads in each stage you defined in Step 1 (e.g.,=COUNTIF('Client Master Data'!B:B, "Offer Submitted")). This gives you objective metrics. - Visual Charts: Select your summary data and go to Insert > Chart. Create a simple Pie Chart for your Lead Sources (to track marketing ROI) or a Bar Chart for your Pipeline Status. These update automatically every time you change a lead’s status in the Master Sheet.
Phase 3: Bringing it to Life (Calendar & Gmail)
The final step is connecting the data in your Sheets to your daily schedule and communication tools—turning static data into actionable tasks.
Step 5: Follow-Up Management in Google Calendar
Use Google Calendar as your task manager, linking directly to your data.
- The System: When you update the “Next Step” field in your Sheet (e.g., “Call John next Tuesday”), immediately create a corresponding event in your Google Calendar.
- Key Detail: In the event description, include a hyperlink to the specific row in your Client Master Data sheet. This allows for one-click access to the client history and property notes right before you make the call, ensuring you are always prepared.
- Automated Reminders: Set Calendar reminders to ensure you receive a notification 15 minutes before the scheduled follow-up.
Step 6: Leveraging Google Apps Script (Advanced Automation)
For the agent who wants to go a step further, Google Apps Script (a free, JavaScript-based tool within Google Workspace) offers simple, powerful automation for your Google CRM for real estate.
- Stale Lead Flagging: You can write a short script that automatically checks the Last Contact Date column in your Sheet and highlights any lead that hasn’t been contacted in 14 days, sending you a simple daily email reminder.
- Mail Merge: Use a simple script (or a free add-on like “Yet Another Mail Merge”) to set up a mass personalized email campaign using data stored in your Sheets, allowing you to send targeted marketing messages to a segmented list of contacts via Gmail.
The Cost-Benefit: Why the Google CRM Wins
While a dedicated real estate CRM offers deep, expensive integrations and polished reports, the Google CRM for real estate offers the ultimate trade-off: 100% control, zero recurring cost, and unparalleled simplicity.
| Feature | Dedicated CRM (Paid) | Google CRM (Free) |
|---|---|---|
| Cost | $50 – $200 per agent/month | $0 (If you have a Google Account) |
| Customization | Requires setup fees/developer time | Limitless, instant customization by you |
| Data Access | Requires internet access and login | Works on any device with the Sheets App |
| Learning Curve | Days of onboarding and training | Minutes (You already use Google) |
By taking the time to build this structure, you create a powerful, flexible, and perfectly tailored system that is the ultimate free and simple alternative to managing your valuable real estate relationships.
switch to a free real estate CRM or alternatives to paid CRM systems

